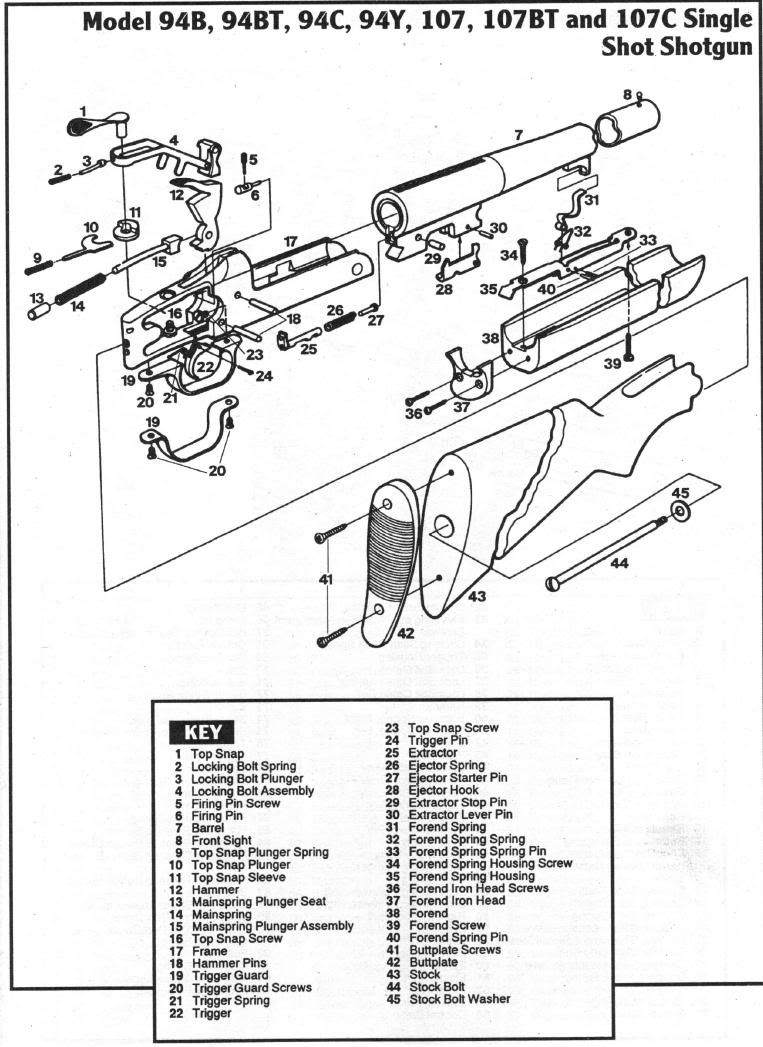
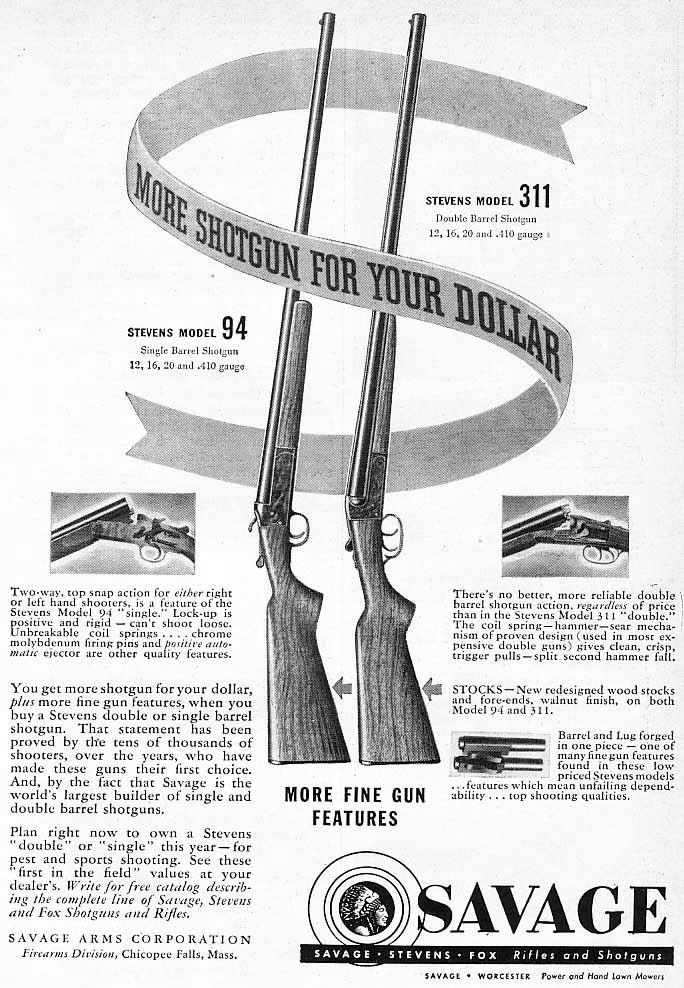
The Savage 94 single-shot shotgun recently came to my attention by way of helping a recently widowed friend. This shotgun is interesting for a number of reasons. It is one of the better single-shots, a light and handy gun and the stock isn't walnut or other hardwood but Tenite.
Tenite, an Eastman Corporation synthetic (cellulose acetate butyrate) from 1929 was much used in the 1930s for automotive parts. It weighs considerably less than wood and is quite stable. In keeping with Eastman's tradition of environmental consciousness, Tenite is made from 100% renewable softwood materials. It is GREEN! According to the fine Larry Sterrett article (“Tenite and the early synthetics in the Long Gun Industry”, 1997 “GUN DIGEST”), Tenite was announced as a stock choice in 1939, put in use in 1940, shelved for WWII, reintroduced in late ’45 or ‘46 and officially used until 1950. Apparently some old inventory of stocks got used up, and this continued until 1954.
Tenite can be molded to precise shapes, and therefore offered some advantages for gunstocks. It is not a particularly cheap product but had a track record in use as a material for US bayonet scabbards produced by Beckwith Manufacturing spinoff Victory Plastics as well as football helmets.
The rest of the gun is pretty unremarkable. It has seen quite a bit of use as evidenced by the well worn finish. However, it has been well cared for, there isn't much rust at all on it.
The 20 gauge is an appropriate choice for a gun this light. Most people will find the recoil of even very many 20 gauge rounds to be punishing and even one round of 12 gauge to be downright objectionable from a 5-1/2 lb gun.
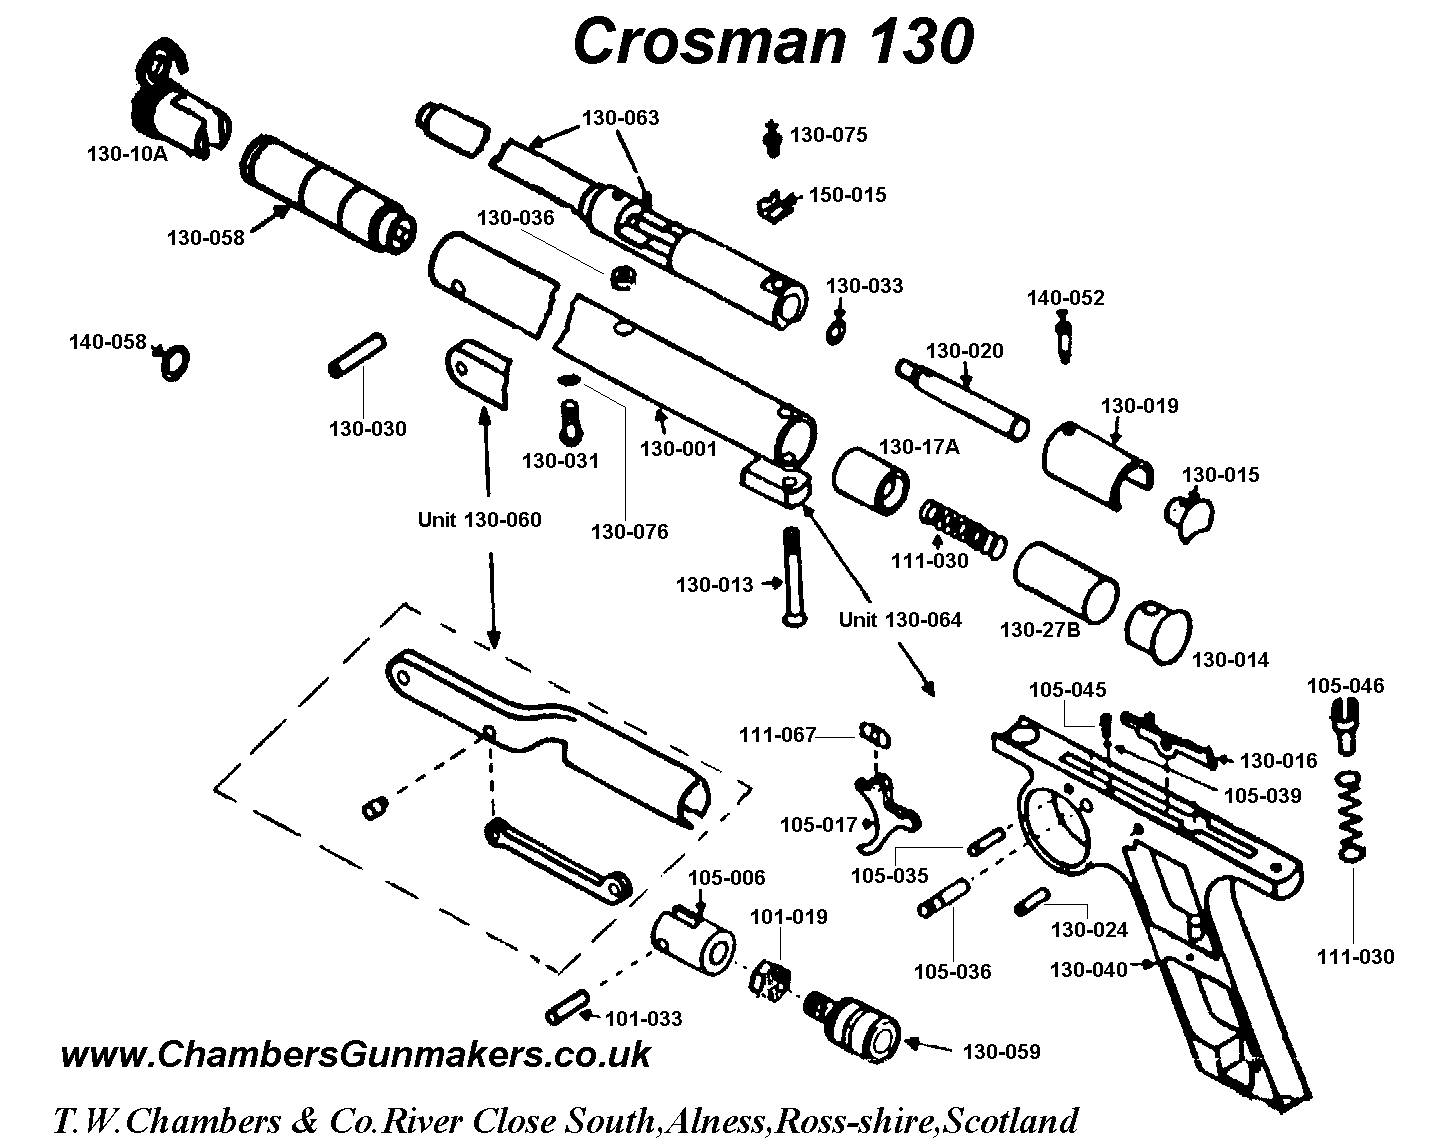
We sold this gun for our widow friend. I'll get a chance to catch a couple of photos of it before it goes down the road because that friend wants me to clean it up for him. This will require at least partial disassembly.
The 94B (which this is) isn't a particularly complicated mechanism. It has been around a long time because it works and it is durable. It was also inexpensive to manufacture and to buy and was a mainstay in farms all across the country. I'm sure Montgomery Wards and Sears & Roebuck sold many thousands.
Saturday, November 29, 2008
Tuesday, November 25, 2008
New (additional) Job
At 9 AM on Monday, December 1, 2008 I begin work at:
Y'all stick your head in and say hi to Hobie. This may slow my blogging and moderating down a bit. Have patience.
Wednesday, November 19, 2008
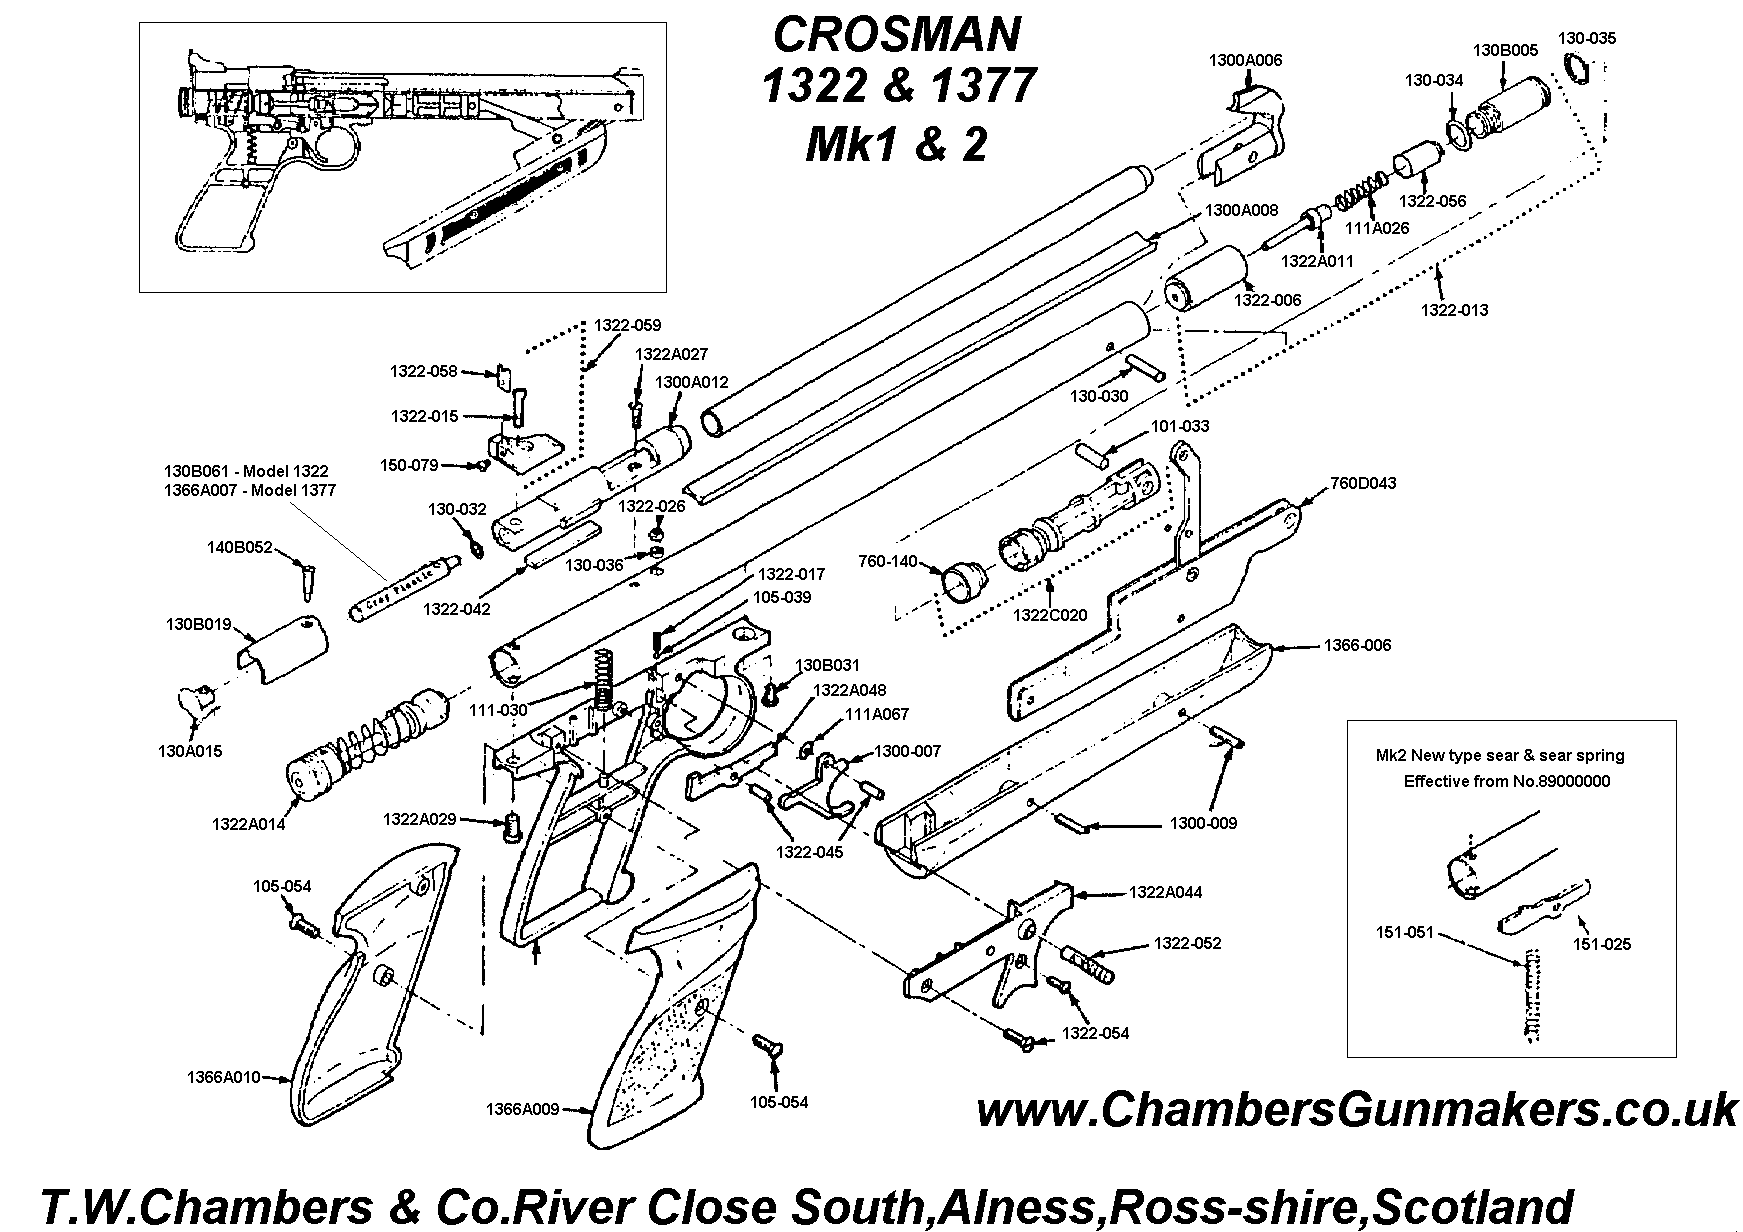
Crosman 130 (Now the 1300) .177 cal Air Pistol
Over 40 years ago I had a fascination with handguns but neither the money nor the age necessary to indulge my youthful fantasies. I don't remember quite how, but I finally prevailed on my parents to allow me to purchase a Crosman 130 in .22 caliber. Suffering from years of inexperience I was convinced the .22 would hit harder. I'm not completely certain now, but I think I got mine at a department store called Town and Country in the Cloverleaf Mall in Harrisonburg, VA. At least I had the great good fortune, maybe even intelligence, to pick one of the most successful air pistols of all time. I know this one gave good service.
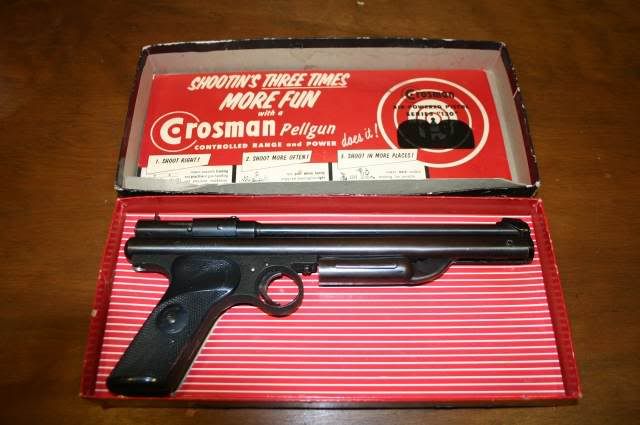
The Crosman 130 pneumatic was made from 1953 to 1970. It was a multi-pump pneumatic in .22 caliber (there was also a .177 caliber). These guns replaced the model 105/106 multi-pump pistols that had been in the Crosman line since 1947. Where the 105/106 guns were conventional in all ways, the 130/137 were considered innovative. When they over-pumped them, the valves would lock up and the guns would either fire very weakly or not at all. To prevent over-pumping, Crosman engineers invented a new type of valve that worked much differently. Instead of knocking the valve open with a heavy hammer, the new valve used the trigger to hold the valve shut until the trigger was pulled and released the air. The only bad thing was that the trigger pull gets heavier and rougher as the air pressure increases. Maybe this is why I'm so insensitive to trigger pull variations.
I now know that isn't necessarily true that bigger is better, at least in the airgun world. My replacement air pistol was a Webley Tempest. It is a .177 caliber gun and has served me well. Still, that .22 gave me a lot of confidence at the time. After some 10,000 pellets fired downstairs into my cardboard box trap, I knew I could hit what I wanted to hit when I wanted to.
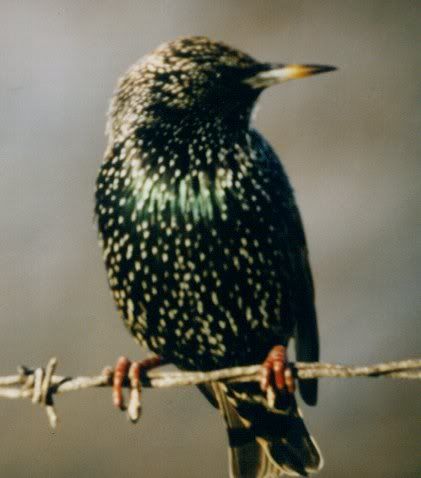
You see, my biggest quarry was the hated European Starling. Yes, my dad detested these birds. Consequently, he didn't mind my shooting them right off his bird feeders where they were competing with Grosbeaks, Mourning Doves, Cardinals, and other song birds for seed.
My bedroom window was a tape measured 55 feet from the bird feeder. Right next to the bird feeder was a Sweet Gum tree. The birds would go back and forth from the tree to the feeder or the sunflower seed on the ground feeder. I would attempt to wack all the starlings possible. It is interesting, but the other bird species soon figured out that they were not the target of my tender ministrations. Flying pellets soon came to be of no concern to them and I never betrayed that trust. There were one or two problems though.
The first problem was that the starling has a natural breast shield of feathers. Well, it is a shield to the flat nosed pellet. That was the second problem.
In those halcyon days, the widely unfettered use of .22 Shorts or .22LR shot cartridges in many areas had precluded a need for a quieter substitute. Pellets were readily available in one flavor only and that was with the big flat nose. Excellent for use on paper targets and cutting sharp, easy-to-score holes in same but not so good as a penetrator on "game". After a few solid "wacks" on starling breasts only to see maybe one downy feather fall to earth (and twice to find the undamaged pellet on the ground!) without a dead bird, I knew I had to do something. But what?
At first I thought that all I needed was more velocity. I pumped up that poor gun until my arms ached but if I got more velocity it did no good and likely it damaged/wore the pistols seals more. My next thoughts were that I needed a sharper bullet point and that I needed more bullet weight. I looked around for usable source.
The first source was .22 Short ammo. I pulled the bullets, dumped the powder charge in the garden and, when nobody else was home, shot the now empty cases in my dad's 72 (I should have simply reseated the bullets! We didn't know about CB caps at the time.) I tried the bullets both with the heel (a 29 gr. bullet) but they seemed too heavy for the gun and velocity was pitiful but when I cut the heel off using my pocket knife I got a usable projectile and got a couple of starlings with those. Unfortunately Dad "cut off" my source of .22 Shorts. What to do now?
I had read somewhere about casting lead cores for swaging bullets. Obviously I didn't have much money and not nearly enough to design and swage my own pellets but I did have some lead and solder. So, I made lead "wire" by casting lead in a channel in sand in the yard. I then rolled lengths of this "wire" between two steel plates to make it "round" and cut it to pieces about the same length as my abbreviated .22 Short bullets. I then filed the bases flat and made the noses pointy with "well-aimed" taps from a small tack hammer. These VERY crude projectiles weren't all that accurate compared to the factory made flat-point pellets but they sure did penetrate.
Along the way, I noticed that accuracy was difficult with a handgun (surprise!) and tried an approach that I'd seen used with the Broomhandle Mauser. I.e. I took a balsa wood "board" purchased at a hobby shop and carved a butt stock that cradled the gun at the butt and lower rear of the receiver. This worked fairly well improving my hit rate but the butt wasn't attached to the gun and one had to put it together for every shot.
Sadly, my experiments and depredations on the wiley starling came to an end as my 130 finally died. Improperly maintenance, over pumping, use of too heavy projectiles and wear from firing (likely more than 20,000 times) was too much.
Now some 36 years later, Crosman has changed the design but the 1377C has inherited the mantle of the 130 and sells for $55 and up. There was a time when it was offered with a one-piece grip/buttstock (which you can still buy separately) but that has gone by the wayside with Crosman's acquisition of the Benjamin and Sheridan lines. It was simply redundant!
Tuesday, November 18, 2008
Lipsey's to Distribute Ruger Blackhawk Flattop .44 Special
I'm excited, like a lot of Ruger fans, .44 Special fans and Flattop fans, as Lipsey's will be distributing these Ruger Blackhawk Flattop .44 Specials. John Taffin would call this the perfect packin' pistol (PPP) and I think he's probably right. Now, if they would only do one in .45 Colt.
First snow of the season!
We awoke to our first snow of the season. Only a "skiff" under the trees but might help with tracking. I do have some pre-thanksgiving stuff to do but I'm excited.
November 15-29
In the counties (including the cities and towns within) of Augusta, Bland, Craig, Giles, Pulaski, Rockingham, Scott, and Wythe.Either-sex Deer Hunting Days:
- November 22-29: In all areas unless otherwise noted below.
- November 22 and November 29: On National Forest and Department-owned lands in Augusta, and on National Forest lands in Bland, Craig, Giles, Pulaski, Rockingham and Wythe, and on the Big Survey WMA, and on private lands west of Routes 613 and 731 in Rockingham County.
- Antlered deer only-no either-sex deer hunting days: On National Forest lands in Scott. Special Youth Antlerless Deer Regulation applies.
Sunday, November 09, 2008
Squirrel Hunting
Squirrel hunting is fun. You can go just about anyplace you can shoot and see squirrels. You can hunt squirrels with all sorts of guns although you might have to be a bit adaptable. You can eat squirrels. You can even shoot several squirrels every day (here it is 6 per day). Lots of fun.
For those who don't know, there are two common types of squirrels in this part of Virginia, the fox (first photo) and the gray. There is also the tiny red but we don't have those here, at least not in noticeable quantities. When I was a kid we did all our squirrel hunting with shotguns. I'm not exactly certain as to why but that's what we did. I for one didn't like finding a #6 shot in my dinner. Maybe I'm just picky. Anyway, I switched to a .22 LR gun. At first, I had only my dad's M72 Winchester. Fitted with the factory peep sight, this gun was good enough for squirrels out to 50 yards or so. Honestly, headshots had to be at 10-25 yards. I didn't trust myself not to overshoot at 10 yards so I'd shoot them in the chest. It isn't all that hard to get close to a squirrel. I think the biggest reason I switched was to avoid the lead additives in my food! You do have to watch your backstop, or lack of backstop, with the rifle(s).
In the old days, the .32 and .36 muzzleloaders were the ticket for small game. These work really well on squirrels when loading a round ball over 15-25 gr. of blackpowder or suitable substitute such as Pyrodex. In fact, my favorite squirrel rifle is my .36 caliber Thompson-Center Seneca. Gifted to me on my 18th Christmas, this is gun didn't even get shot until 8 years of service in the US Army passed. I then fell in love with the gun when used on squirrels and rabbits. Why are they so effective? Well the mild charge of powder and light weight of the ball combine to minimize recoil which contributes to pleasant shooting. Also, the ball is of the correct size to be effective (it as big as any expanded .22 LR bullet will ever be on such light game) and still accurate at these relatively short ranges of not more than 50 yards or so.
To squirrel hunt I take my tool of choice for the day and go to a place where I both have permission and there is food for squirrels. They are everywhere there's food for them and after a relaxing sit-down at least one will make his presence known. Many times, especially if you pay attention to where you sit, you won't even have to get up to take your limit. I have done so even while wandering around with chatting kids in tow.
After you take a squirrel, you need to move him from the forest to the dinner plate. The first step in that process is skinning the little buggers. That can be a chore and it was for me at times. Fortunately, Mr. Squack produced a video of a neat method to quickly and cleanly remove the overburden from some squirrel gravy (although I'm not a gravy guy, I stir fry mine!).
After washing and deboning the meat, your next step is to discover a favorite recipe. All the better if your partner/spouse already knows one. Bon appetite!
Wednesday, November 05, 2008
Long Term Storage of Firearms
Please read this stuff, for quite obvious reasons!
Long term storage of guns - relatively short, MUST READ. Mentions Brownell's Triple Tough Bags and Rust Blox combination for great long term protection of firearms in storage.
Where to get long term gun storage bags and tablets
If the above link doesn't work simply log on to Brownells and look in their cleaning supplies tab, then enter "Triple Tough" in the search box.
Storage bags and tabs for 12 long guns, 12 handguns currently comes to just a tad over $100.00 from Brownell's, at least if you are a registered customer.
Prices will suddenly go up and/or supplies will dwindle very soon
John de Fresno
Links:
Burying Guns? by Massad Ayoob
Bury a gun and ammo
for 15 years
(and be assured everything still works when you dig it up) by Charles Wood
Sunday, November 02, 2008
Build Your Own AR
Brownell offers a FREE video series on building an AR. They also have it in PDF form. Hat tip to Xavier for this tip. I'd seen it but didn't remember to post it.
Now, why you would do this? Simply look at the news.
Saturday, November 01, 2008
Military Musketry
I happened on this Youtube video of drill for "Last of the Mohicans". I thought it was interesting.
Uberti Remington New Model Army 5½-inch
The Remington New Model Army revolver was manufactured by E. Remington & Sons of Ilion, New York, from 1863 to 1875. An average of 10,000 per year were manufactured (most during the Civil War, 1863-1865) for an approximate total of 132,000 revolvers. This six-shot, .44 caliber revolver was the second most issued to Union soldiers pistol during the Civil War. The New Model was proceeded by the Old Model Army, of which 12,000 were produced circa 1862. The Old Model had a dovetailed front sight, and the loading lever was cut so the cylinder could be removed without lowering the lever. The Army found both features unacceptable and the New Model Army features a loading lever that must be dropped for cylinder removal and a screw-in post front sight. One of the oddities of these revolvers is that the Old Model Army has a patent date of Dec 17, 1861 and the New Model Army, it's replacement, has a patent date of Sept 14, 1858! It is interesting to note that the reproductions most often use the dovetailed front sight of the Old Model Army but the New Model Army loading lever.
Once upon a time in a place that now seems so far away called San Angelo, Texas, I bought a revolver. Along for that ride, maybe an instigator now that I think about it, was my dear friend Perry Fuller. Perry had taken me to a gun shop in downtown San Angelo as a break from the tiring classes at Goodfellow Air Force Base. I suppose he didn't intend for me to buy a cap'n'ball revolver but I did. This Lyman marketed, Italian copy of the Remington New Model Army was my first handgun of over .177" caliber. With a can of DuPont 3F, some Remington caps, a can of Crisco lard and a popsicle stick I was all ready to go shooting.
The two of us went out in the vicinity of Lake Nasworthy and proceeded to shoot up some cactii and an armadillo. Not exactly responsible, but we were certain to watch our backstop! I believe we also got a quail or two out there (which Perry's wife Amy graciously prepared for dinner!) using Perry's 20 ga. Ithaca M66 lever-action shotgun. In any case, that was great fun and when I got home on leave I was eager to show Dad just how it worked. He liked it but had one concern. The grip size.
Now my hands are about average in size but Dad's were pretty large. He was 6' 1" and his hands were a little larger than one might think would be proportional. That early NMA grip disappeared in those paws! Even in my average sized mitts, the grips felt a bit on the small side. The guns were supposed to be accurate reproductions of Civil War era revolvers used by men so why were the grips small?
Well, it seems that when the Italian gun makers first started to reproduce the guns, they were casting the frames and somehow while the copied the dimensions for the frames from originals there was a bit of shrinkage in the castings and the guns came out a bit on the small side in some dimensions. Fast forward to about 2000 and correctly dimensioned guns were beginning to come on the market. Now, Uberti produces a forged, steel frame version, some with color-cased frames. Barrel lengths are not just in the 8" original length but also in 5-1/2", a more desirable length to modern CAS shooters.
Taylor's & Co., Inc. of Winchester, Virginia distributes these guns but I'm sure you can get them from other firms like Dixie Gun Works. The Uberti guns come in typical Uberti boxes. There's the usual manual but also NRA and other literature included. No nipple wrench is included and you will need one.
Loading these guns is actually pretty straight forward. It is a good primer (pun intended) for the budding reloader. First, the gun must be cleaned to ensure there is no grease or oil in the chambers or nipples. Excess oil should be removed and I strongly suggest that no petroleum based oils or greases be used on the gun as exposure to blackpowder (or substitutes) and heat can create a "tar" that can be terribly difficult to remove. This fouling on the cylinder can tie up the gun in short order and is well avoided. Also lay out your components/ensure you have everything you need before you start. There is nothing so irritating as having to go find a component in the middle of the process. Don't ask me how I know. You will need:
- .454" pure lead round balls or the correct conical bullets
- #11 percussion caps
- greased over-powder wads and/or grease/lard for application over the bullet. This is important to both lubricate the bullet and to prevent accidentally igniting the powder charge from the front.
- 2F or 3F BP or substitute
- powder measure or flask with measure
I prefer to fire two caps on each chamber to ensure that all nipple flash holes are clean through and through and dry. The fired caps are removed from the nipples and we move on to actual loading.
I charge and seat the ball/ball&wad one chamber at a time and then move on to the next chamber. It is preferred to load only five chambers and leave one empty. The gun is carried with the hammer resting on the nipple of this empty chamber. To do this the gun is placed on half-cock so that the cylinder can rotate freely. It is held muzzle up in my left hand so that can do the other tasks with my right. A charge is measured and poured and the wad, then ball is seated using the loading lever. Only after I've completed loading each chamber do I go back and apply the grease over the ball with the popsicle stick, tongue depressor or other suitably shaped applicator. Excess grease is wiped off. The gun, still held in my left hand is then capped and the cylinder rotated and the hammer let down on the nipple of the empty chamber. The gun is now ready for carry and/or firing.
Typical powder charges are 25-35 gr. (limited by the size of the chamber) and round-balls weigh about 144 gr. Velocities are typically in the 700-850 fps range and produce energy levels about on par with .38 Special round nose lead ammunition. However, the larger diameter pure lead ball gives better terminal performance. Find the load your revolver likes best and you can likely shoot cloverleafs to some very interesting distances and you'll have a fine small to medium game revolver. Conical bullets often give better penetration on target but less accuracy. Molds are available from Lee, Lyman and others.
After shooting, timely cleaning is strongly recommended. It isn't necessary to completely disassemble the revolver after every shooting session. My Lyman hasn't had that done in 25 years but a peek inside shows no BP buildup. It is necessary to clean the cylinder (removing the nipples for a thorough cleaning), bore and exterior of the revolver. Hot, soapy water is my preferred solvent. Hot water helps heat the metal so that it dries more quickly. After cleaning give it a protective wipe down with Bore Butter or other non-petroleum based oil.
Subscribe to:
Posts (Atom)