This will hopefully help fix those broken hard rubber buttplates on early Marlins, (or whatever brand). Of course you can buy repros, but then you've got a glossy black buttplate that just doesn't have the look of an original. The following repair will work on black plastic too, if you can't find a new replacement.
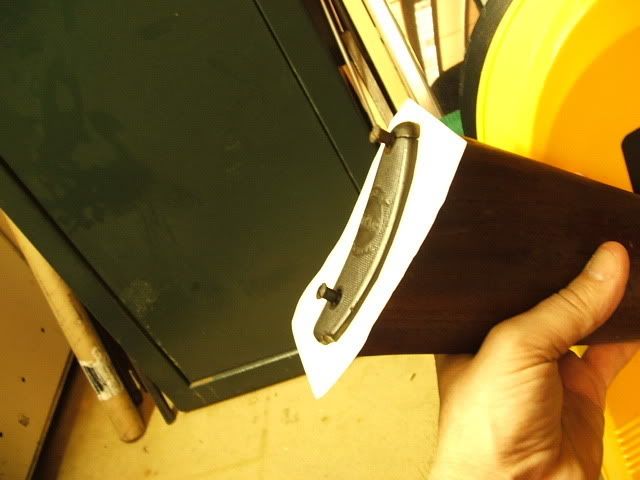
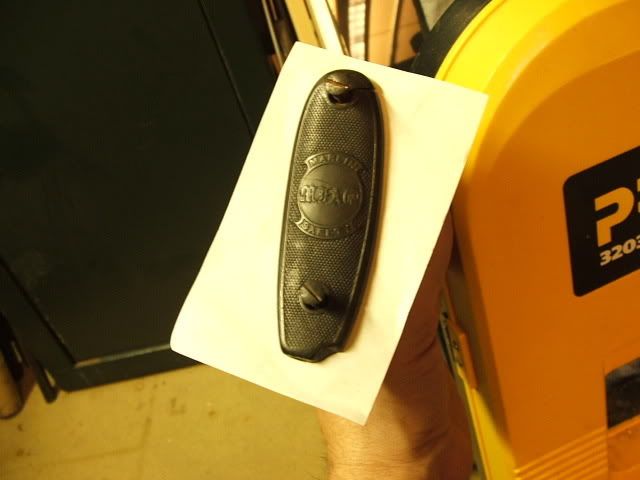
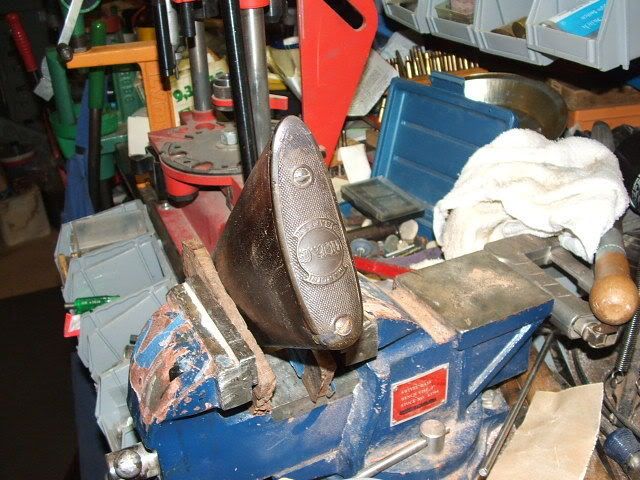
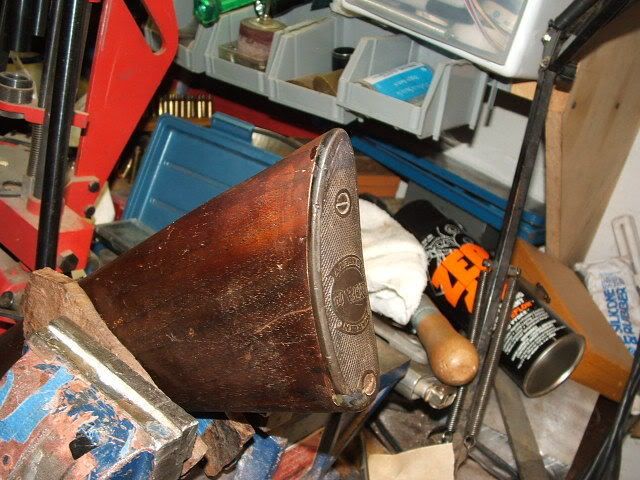
This buttplate is on a '97 Marlin, and has a crack that opened up from over tightening, and had the toe chipped off the stock and buttplate.
First thing I do is remove the buttplate and fill the chipped toe of the wood by filing it flat, cutting a piece of similar wood, gluing it in and reshaping to match. Next I reinstall the old buttplate with a sheet of thin paper sandwiched between the buttplate and the stock:
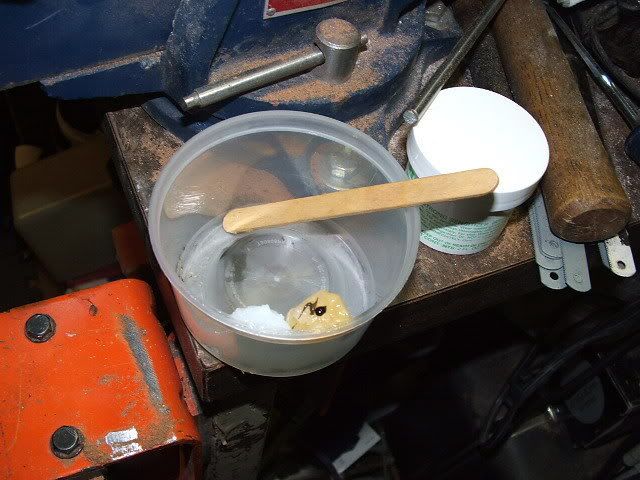
Next mix up Brownells Acraglass Gel in equal parts. It comes with black and brown dye, so mix appropriately and color. Use just a tiny pinpoint amount of each color and add as needed to get more brown or black:
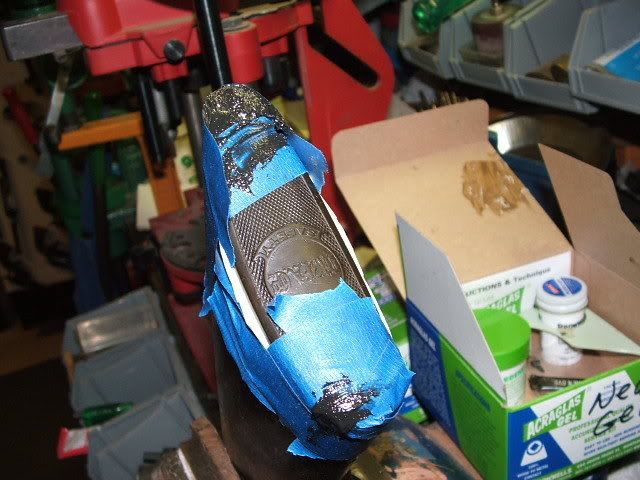
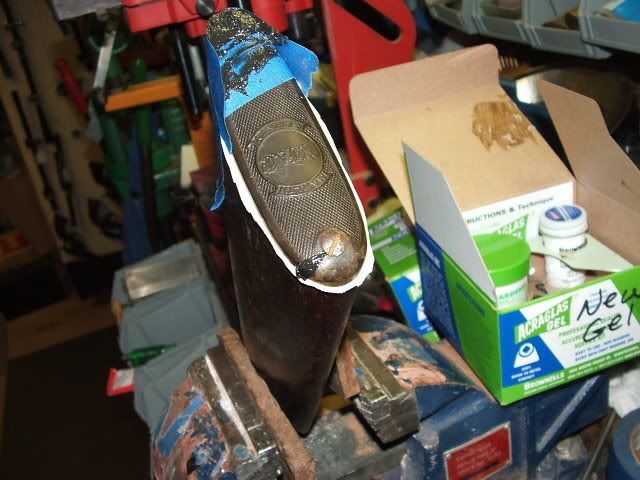
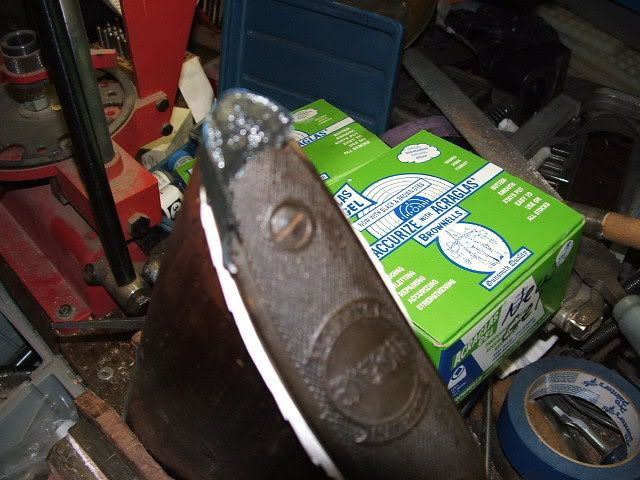
Now mask off the edges of cracks or repairs, so the gel wont have to be removed or sanded off places you don't want epoxy on. Once you've masked it off, apply the gel. I like popsicle sticks, as they are free and easy to get, plus I get to eat popsicles with my grandaughter!:
I build a dam around large repair areas like the broken toe, and make them slightly oversized so I can file and sand it down to fit the wood. Once the gel is applied the small repairs should be fine to remove the tape while wet, but those larger areas need to be left to dry, so they hold the gel until firm:
When the gel has thoroughly dried the tape is removed. Don't worry that it sticks to the Gel, as the tape and excess gel will be filed off together. Remove the paper from under the plate, which will also stick, but that can be sanded off also:
Next, the steps to finishing off the buttplate to fit the stock, and then touching up the checkering, etc. to make it look close to original!
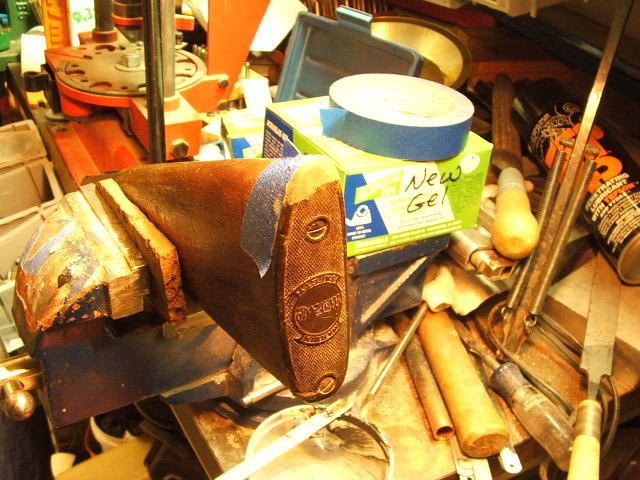
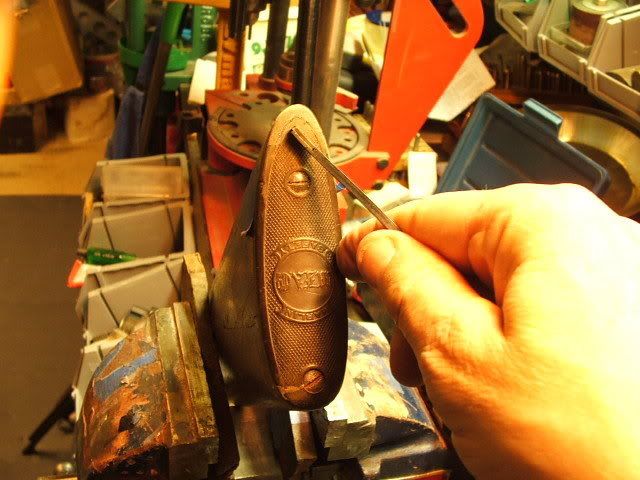
After a day's wait, the Acraglass is set and time to start working the excess down. Best done with the buttplate in place, as they are fragile and it helps hold it. Mask off the wood with blue painter's tape first, then use a coarse rasp to get close, then a fine file, and finally a bit of sandpaper. The buttplate will appear lighter when it's first sanded, but the finer the sandpaper, the darker it gets. This is roughed into general shape:
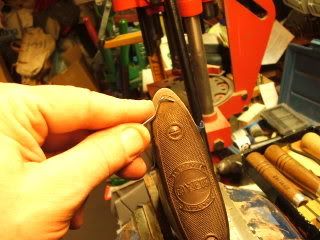
Next work it down close with 240 grit, and then 400 grit. I then use a pencil to draw the outline, and a dental pick to scribe the edge in:
Once you've got the general outline, then follow existing checkering pattern to extend the lines into the repair. Don't try to get it looking like new, as the toes of well worn buttplates are almost smooth over years of wear:
After the pattern is checkered, a piece of polishing paper, or 800 grit will take the newness off the checkering. I then polish the buttplate with some paste wax, and if needed I darken it using a felt pen and wipe it with a rag to take any excess color off:
That's about it. The stock on this one will get darkened back to match with some Tapadera stain, and then a quick wipe of Wipe-On Poly to bring the finish up on the repaired toe. A little on the buttplate will make it look perfect too.
Wednesday, February 25, 2009
Subscribe to:
Post Comments (Atom)


1 comment:
Nice work!
Post a Comment