This will be long and drawn out, as it takes time between steps waiting for things to dry. I'm in the process of building a set of stocks for my double gun project, and thought I'd take some pictures to describe how I do it. Not sure how others do it, but this has been my method. I start by building the stocks from the inside out. This way I can fit pieces next to the action and barrel, rather than carving out a stock and then cutting in the inletting.
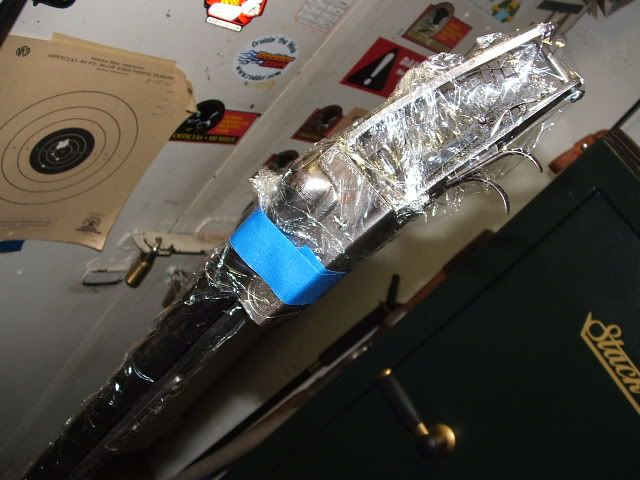
I start by covering the entire area with good quality plastic wrap. Tape it in a couple places to keep it in place:
Next I get some soft fir or other wood that is easily cut and shaped. I fit the wood in pieces around the metal, and glue the pieces together with Gorilla glue. Don't worry about a perfect fit, as that will be the last step before sanding:
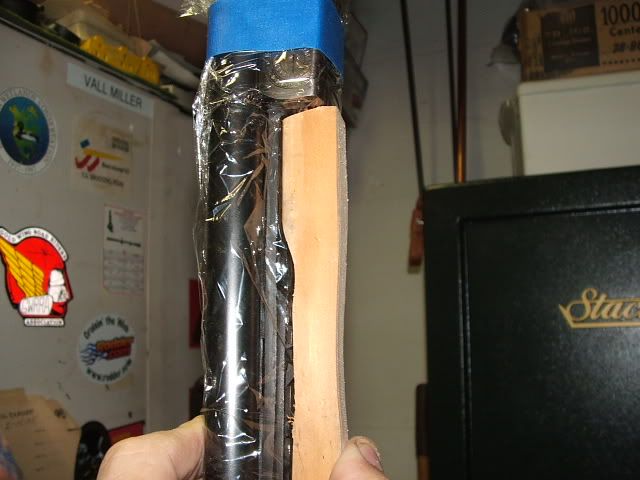
The forearm will be done in 4 pieces. Three for the bottom, and one for the tip:

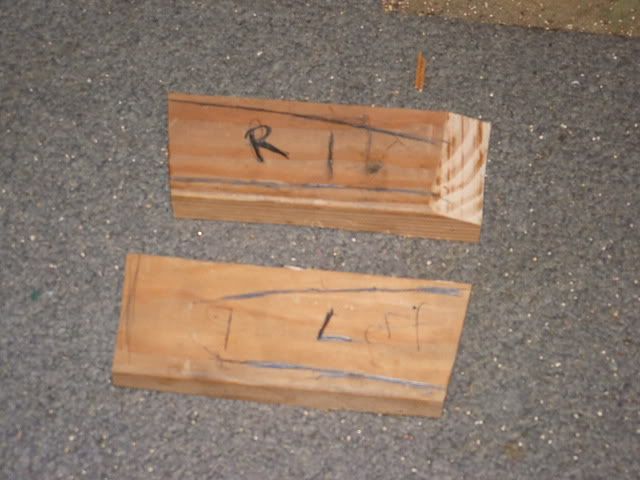
The buttstock will end up being a lot of small pieces and one large piece:
Tape and rubber bands work well to hold it all together while the glue sets up:

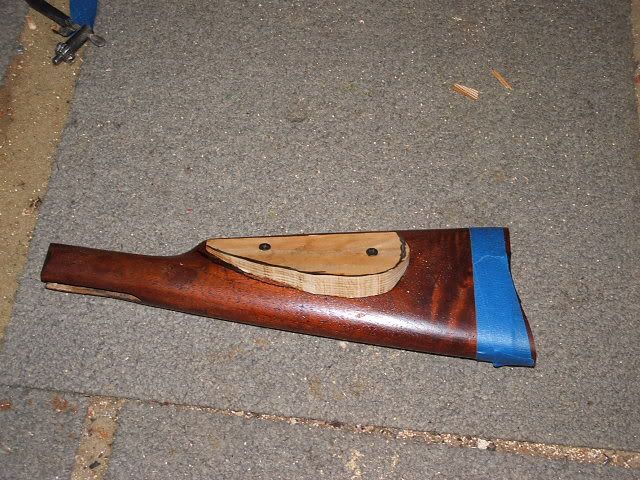
On this project Im using a donor stock (old Marlin 27) so I wont have to carve all the shape. I want a cheekpiece, so I cut one out on the band saw and glued it on. The screws will be removed when the glue sets up:
When all this dries I'll attach the stock to the pieces already fitted, fill in some more pieces, and then final fit the wood to the action using plain old body filler. I'll also mold in the cheekpiece and buttstock using the same. When it's done I'll have a perfect pattern to send to the duplicator.
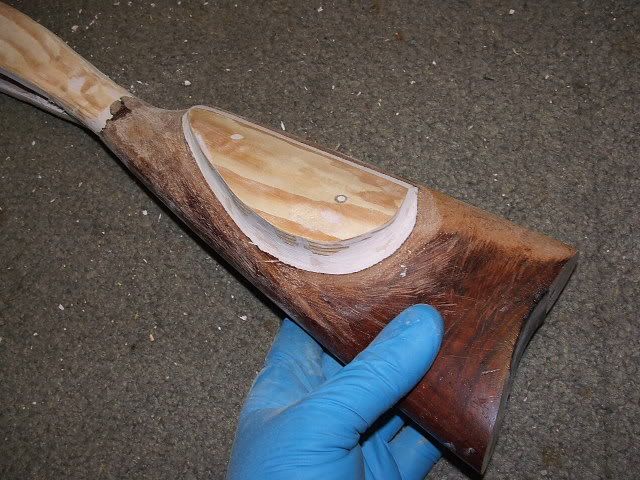
I fitted pieces of wood to the action and forearm and have them close. I installed the cheekpiece and donor stock to the inletted fir pieces.
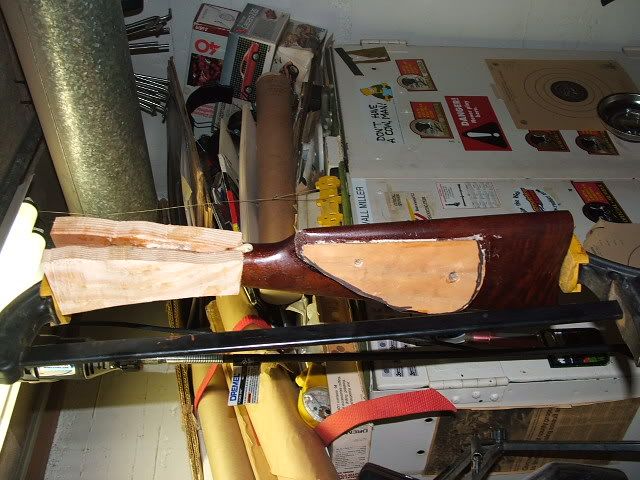
Next I bondo the wood to the action and bondo the cheekpiece into the stock.
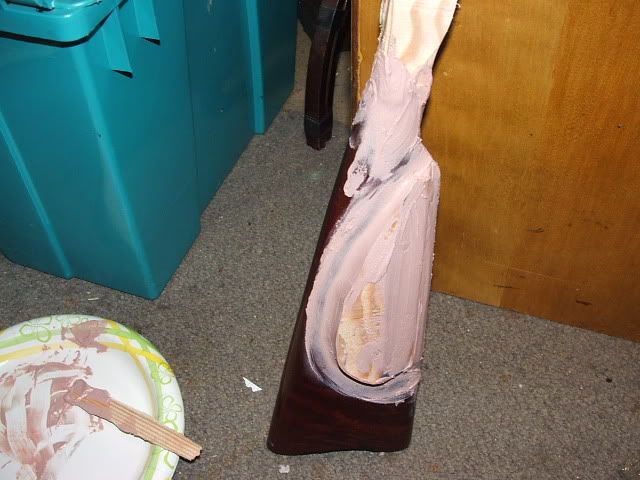
After drying I rough shape the bondo with a coarse rasp, and later I'll do final filling and sand to a close finish.
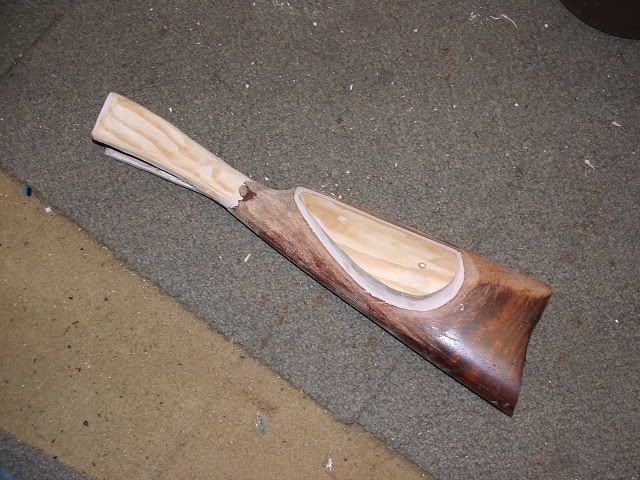
It doesn't need to be perfect for a pattern, but the closer the better, as that saves woodwork later!
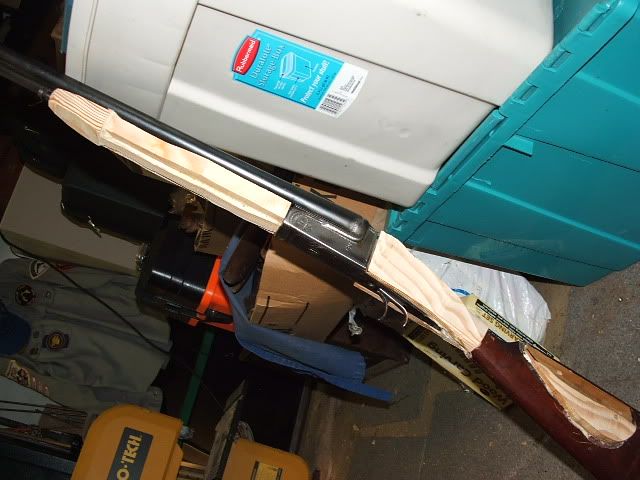
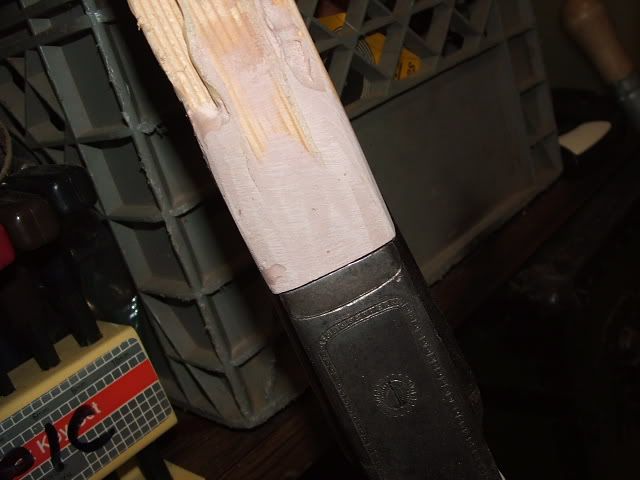
The forearm is next to get a few more pieces of wood, and then final shaping with bondo and a rough rasping. Here it's fitted to the receiver, and will be shaped the rest of the way when the fit is perfect.


No comments:
Post a Comment